I'll share some photos of the progress that I made with this car tonight. I am far from done, but I completed the fade coat, then I got out my chalks and gave it a rubbing of reddish/brownish colors. I sealed that with Testors dullcoat, and then started hand painting with oils, starting with burnt umber. So this is really the first weathering try where I am using all of my current techniques.
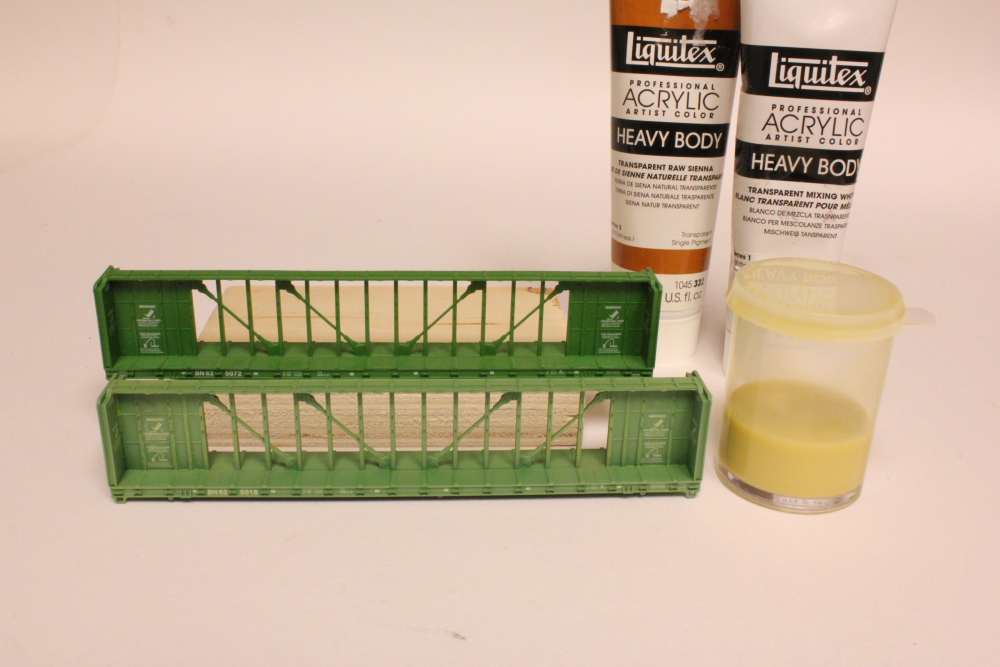
In addition, I picked up some burnt sienna transparent acrylic today, and will try this in a mixture for mineral brown cars. While I like the effect the raw sienna had on the SP boxcar, it is pretty yellow. I'm not concerned, as I will be adding a lot of additional colors with chalks and oils, which will change the overall color quite a bit. Burnt sienna is darker and should give it more of an orange tint. I'll post some more photos as I make progress on that beast. I have several other cars that are in progress and stacking up on the work bench. I need some focused attention on these projects so I can finally wrap them up and put them into service. As much as I love this hobby, I seem to only be able to scratch the surface of the projects that I would like to do.
Here is the BN centerbeam after a heavy fade coat of my raw sienna tint that I explained in my previous post.
After the fade coat, I brushed on some chalks to dirty the model.

Here is the car with some burnt umber applied by hand with a small brush.

Comparison photo of my weathering progress and a factory version of the same car.

Very nice John.
ReplyDeleteYou're just slaying the fade. I've used Gary's fade mix as well, works a treat. Rust work looks great too. Lookin forward to seeing some of these cars on the layout.
ReplyDelete